The Beginner’s Understanding of Exposure: A Guide for Bridal Photography

In bridal photography, the art to capture the feel of the day is not restricted to mere technical skills but beautiful and timeless images that tell the unique story of a couple. Mastering exposure is one of the most basic yet important elements of capturing the best bridal portrait. In this beginner’s guide, we’ll discuss the very basics of exposure in bridal photography and just how understanding exposure can elevate your images to capture perfectly balanced and well-lit, visually stunning shots.
Exposure represents the amount of light reaching your camera’s sensor or film and will dictate just how bright or dark your photos are. In digital photography, exposure is controlled mainly by three important elements known as the exposure triangle:
The size of the opening of the lens that controls the amount of light that enters the camera.
The duration a camera’s shutter is opened to allow light to reach the sensor.
Light sensitivity of the camera’s sensor.
These three elements together will decide the exposure of an image that will balance out the light and shadow to capture the desired effect. This becomes very important during bridal photography since it helps capture the details in a wedding dress, skin tone, and even the ambiance.
Exposure, when related to bridal photography, plays a great role in capturing the right mood and tone. It decides how much you will be able to show off those minute details of the bride’s dress, the texture of the bouquet, and even the emotions expressed during candid moments. Bad exposure will either result in overexposed images, too bright, or underexposed images, too dark; both of which will mask the important details and make the aesthetic of the shot bad to look at.
May cause blown-out highlights, which are the brightest parts of an image that lose detail. This could be because the camera has allowed too much light into the lens.
Creates dark and muddy images with disappearing details because of merging shadows and highlights; very important parts may become absolutely black.
In wedding photography, details such as the lace of the bride’s dress, the facial expression of the bride, and other minute decorations are important; poor exposure means losing just those details.
The exposure triangle is the base of any photography, and learning how the interaction between its three components works will help you understand how to control the final look of your bridal photos. Let’s get into each element in detail:
A relatively small opening in your camera lens-aperture-allows various amounts of light to finally pass through onto the sensor. The measurement used is in the form of f-stops (f/1.8, f/4, and f/8); the smaller the f-stop number-such as f/1.4, f/2.8-the wider a lens is. Then the high-number f/ stops like those of f/8, and f/16 are considered a narrow aperture.
A wide aperture lets in more light, hence it is effective in low light conditions, or if you intend to get a shallow depth of field. In bridal photography, this is the case when shooting in close-up on the bride’s face or details like the wedding ring, at a time when you want the subject to come out against a nicely blurred background (bokeh).
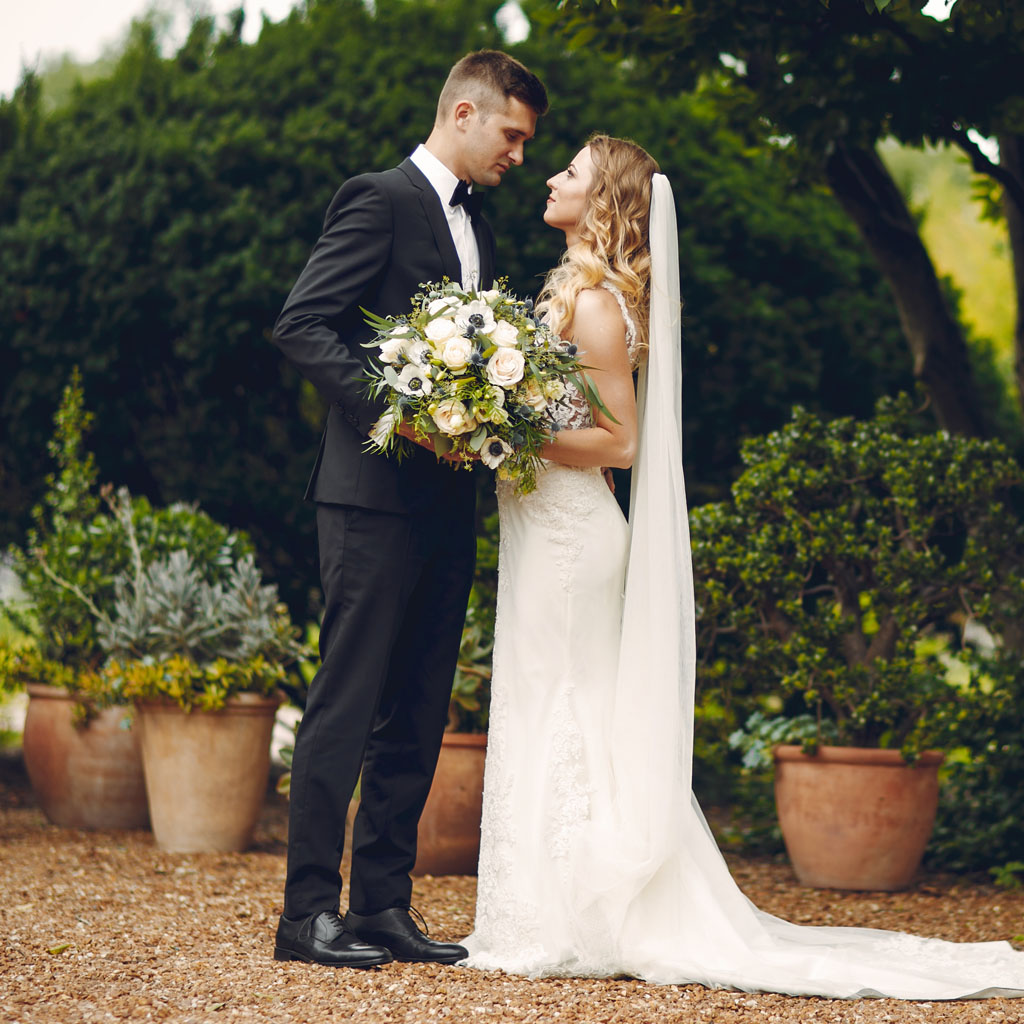
Smaller apertures, say f/8 or f/16, are those that do not let too much light in; hence, providing a deeper depth of field. Since wide shots or group shots will be needing a smaller aperture to keep a larger portion of the image in focus, from the bride’s dress to even the background elements such as the venue’s décor or guests attending the event, this is a great advantage in such situations.
Shutter speed refers to the length of time a camera’s shutter is open to let light reach the sensor. It is measured in seconds, usually represented as fractions, such as 1/1000, 1/500, 1/60. A higher value of shutter speed, for example, 1/1000, allows only a fraction of a second exposure to light, while the lower shutter speed, for example 1/30, allows a longer time for opening.
Speeds like 1/1000 or 1/500 are perfect for freezing motion. In wedding photography, this is very important for moments such as the bride walking down the aisle or the first dance. The fast shutter speed will ensure the movement is crisp and sharp, not blurry.
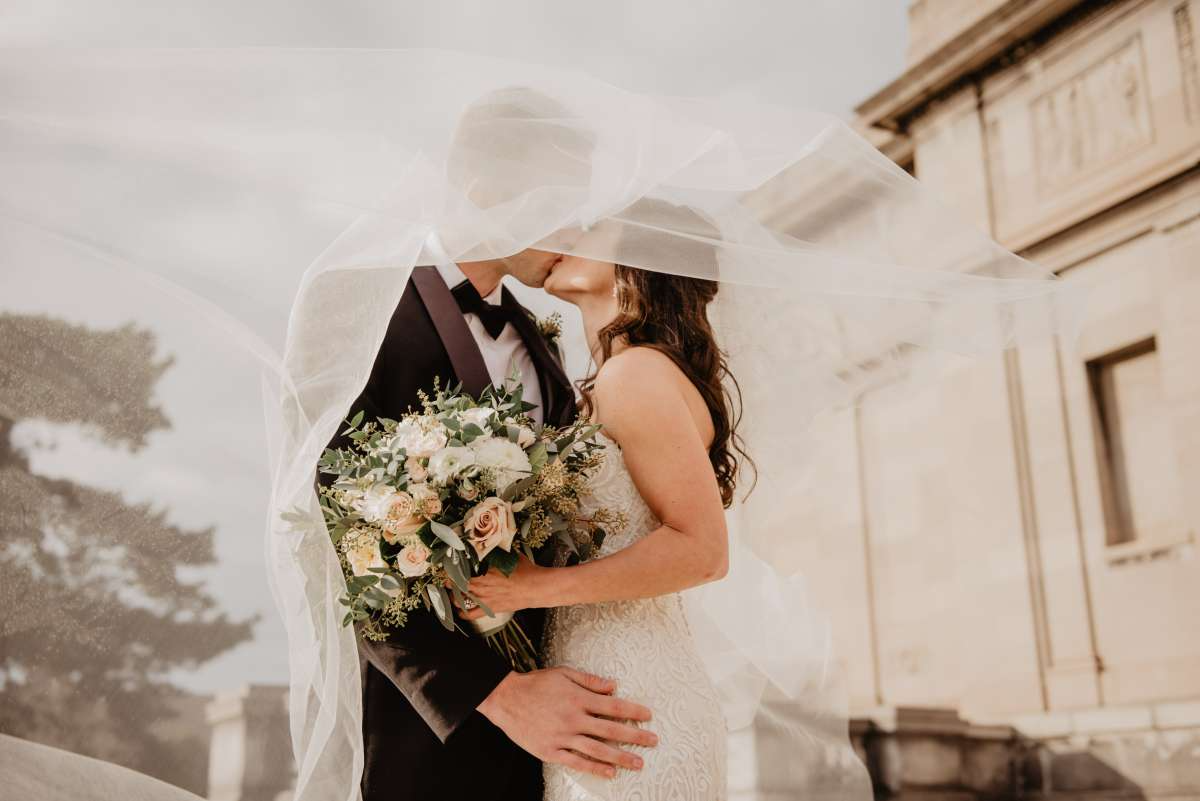
These are used in low-light conditions or to capture motion blur, such as the movement of a wedding veil or the couple’s embrace. However, slower shutter speeds require a steady hand or a tripod to avoid camera shake, which can make the image appear blurry.
The ISO sets how sensitive the sensor of the camera is to the light. Low ISO, say ISO 100, means lesser sensitivity of the sensor to the light, whereas high ISO values like ISO 3200 make it more sensitive for low lighting conditions.
The best for use under well-lit conditions, low ISO will preserve image quality, reducing noise, hence giving clear, clean shots with accurate colors.
Such as ISO 1600 or 3200. This is required when shooting with low light; this can be during indoor ceremonies or during a reception in the evening. High ISO increases noise and lowers the quality of your photos, especially in the shadows.
It involves balancing the aperture, shutter speed, and ISO for proper exposure. During bridal photography, you will most of the time find yourself shooting in different conditions—outdoor sunlight, dimly lit venues, the golden glow of sunset—but by manipulating these three controls, you can adapt and make sure your images are perfectly exposed.
In bright outdoors, for instance, at a wedding during the day outside in the sunlight, you set it to the widest aperture that the camera or camera lens is able to, getting the balance for nice background blur paired with high shutter speed between 1/500 to 1/1000 that effectively freezes moving people and makes any picture you click look crisp yet noise-free using a minimal ISO value, ideally around 100-200.
For indoor receptions or evening ceremonies, you may want to adjust your settings for more light sensitivity. You can use a wider aperture, like f/2.8-f/4, to let more light in and a slower shutter speed, such as 1/60 to 1/100, to let enough light hit the sensor.
In these cases, you’ll have to raise your ISO to 800 or more to maintain the exposure, being at the mercy of added noise in the final image.
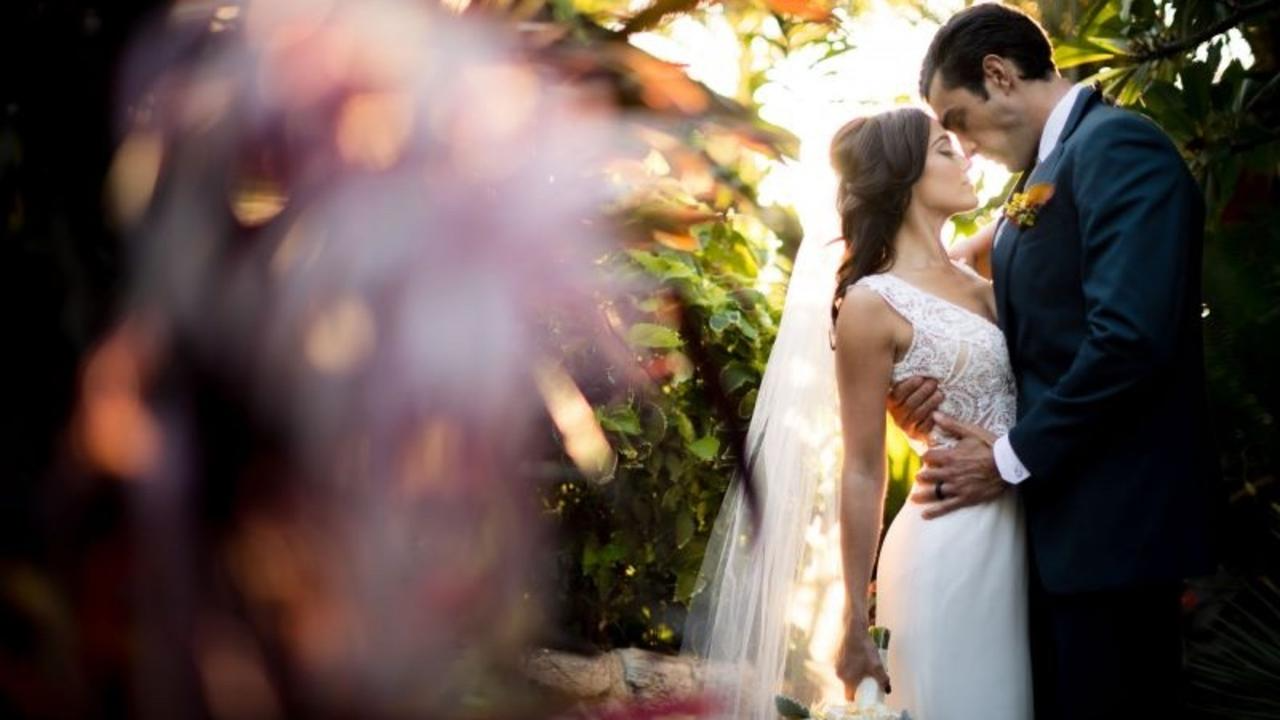
Golden hour—the time shortly after sunrise or before sunset—provides beautiful soft light. It is, however, a very challenging exposure situation. If you’re shooting a backlit bride, where the light source is behind the subject, more than likely you will want to adjust exposure compensation. This will allow you to not underexpose the bride while preserving the beautiful light that is in the background.
A reflector may be employed to bounce the light back onto your subject to fill in the shadows. You can also use f/2.8-f/5.6 to set your aperture for a soft focus background, while maintaining a fast shutter speed of 1/250 or faster to avoid any motion blur.
While the different automatic modes of your camera will be quick and easy, the manual mode provides full control over the exposure settings. By learning how to use aperture, shutter speed, and ISO, you will be able to create a perfectly exposed shot every time, no matter the lighting conditions.
The +/- exposure compensation dial is used when shooting in aperture priority or shutter priority mode to compensate for overexposure or underexposure. This is especially useful when shooting in tricky lighting, such as backlighting, or when there is a difference between dark and bright areas in a scene.
When you are not sure about the right exposure, then you can bracket your shots. That means you shoot the same scene at say different exposures, like one overexposed, one correct, and one underexposed, just so you get the best shot.
The histogram is a graph that plots the exposure of your image. It shows you the distribution of light in your image from shadows to highlights. Make sure that your histogram isn’t skewed too far left—underexposed or too far right—overexposed.
Use a handheld meter if your camera does not offer an accurate exposure meter, or if you’ll be working out in extreme conditions that may fool in-camera meters.
One of the most critical areas in bridal photography is exposure. Mastering the exposure triangle—aperture, shutter speed, and ISO—will give you full control over light and how it will portray your images to best capture the beauty and emotions of this wedding day. Keep in mind that every wedding is unique, and once you understand how to balance exposure settings for the lighting conditions of any scene, you can create some outstanding, timeless bridal photos that will be treasured forever.